


Transitions are a crucial element in the video editing process. From subtly smoothing changes between shots or scenes to creating dynamic wipes and dissolves that introduce graphics and other elements, transitions offer a variety of creative ways to go from one shot or element to another.
This guide will show you how to add transitions using DaVinci Resolve and link you to some free transition templates to help you get started.
How to Add Transitions to Your Videos in DaVinci Resolve
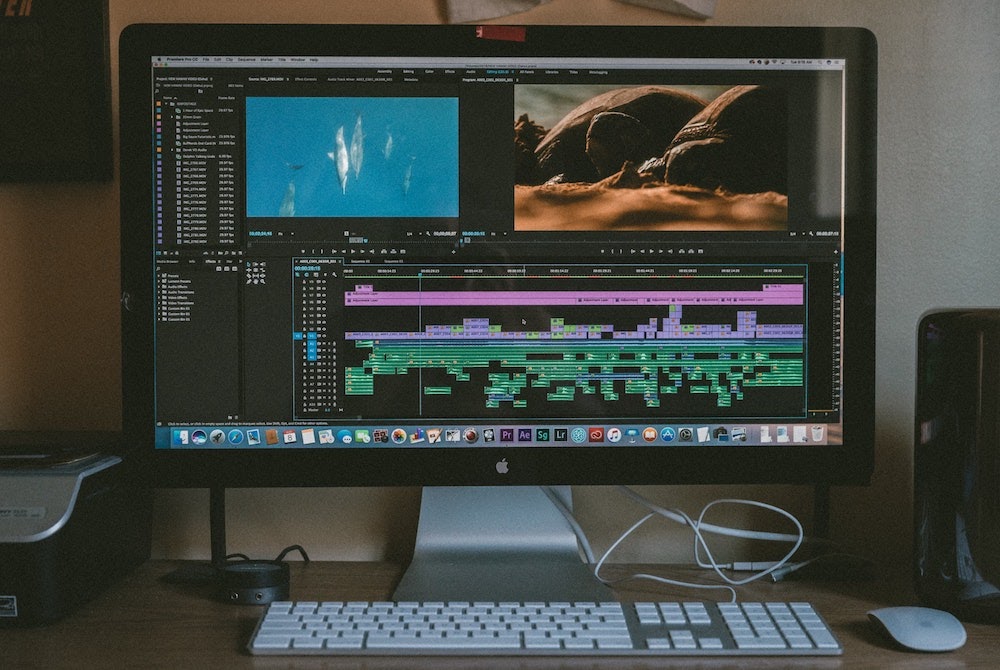
Adding transitions in DaVinci Resolve is relatively simple. All you’ll need is your footage (including any graphics or other elements you want to include in the transition) and DaVinci Resolve’s included transitions or a transition template you’ve installed (we’ll get to that later).
Step 1: Import Your Footage into DaVinci Resolve
To do this, either go to “File” then “Import” and select the footage you’d like to import or use the keyboard shortcut Cmd + I to open up the import window. Select all the files you’d like to import to create your project.
Step 2: Create a Timeline
Create a new timeline in DaVinci Resolve by selecting all the clips you’d like to put on the timeline and right-clicking (or hold down Ctrl while clicking) the selected clips. Next, select “Create New Timeline from Selected Clips” in the drop-down menu that appears. This will create a new timeline with settings that match those of your selected clips.
Step 3: Arrange and Edit Your Footage
Once you have a timeline with all the clips you’ll be using for your project, arrange and edit your clips as you’d like them to appear in the final export by dragging and dropping as well as using DaVinci Resolve’s editing tools to trim, resize, and create other appropriate changes.
Step 4: Apply Your Transitions
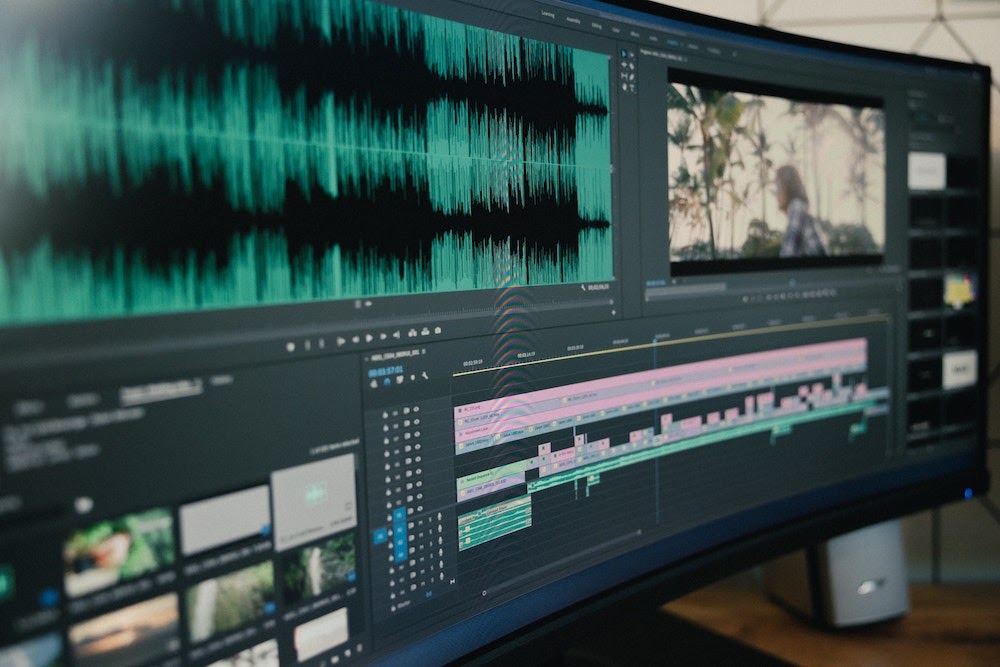
To apply transitions to your clips in DaVinci Resolve, first, open the Effects Library. You should see this in the upper left-hand corner of your workspace next to the “Media Pool” icon. Go to “Video Transitions” and open the folder. This will display all your installed video transitions.
Select the transition you want to use, then drag it to your timeline. Drop it over the clips you’d like to place the transition on or between. A transparent box will appear between the clips you applied the transition to. This box represents the transition. If a white box appears instead of a transparent box or no box appears, it likely means that one of the clips you’re trying to apply the transition to is too short. Make sure you have a few extra seconds on each clip to allow your transition enough time to complete.
Step 5: Adjust and Edit Your Transitions
You can edit your transitions to be longer or shorter, change colors or effects, or swap transitions entirely. The drag and drop tools in DaVinci Resolve make it easy to adjust your transitions with ease until you have the perfect effect.
So, this covers how to add transitions to your next video project in DaVinci Resolve using the pre-loaded transition tools. But what if you’re looking for a very specific transition effect? First, you have the option to create your own using After Effects or another motion graphics program. However, if you don’t have the time or haven’t mastered any of the required programs yet, you can find a wealth of free and paid transitions that you can download and add to DaVinci Resolve.
We’ve compiled some of our ten favorite free transitions to get you started.
Create together remotely, in real time
10 Free DaVinci Resolve Transition Templates
This simple but effective transition replaces a typical fade in/fade out clip transition or more jarring older “wipe” effects for a more dynamic “swipe” effect that mimics swiping to the next image or screen on a smartphone or tablet. It’s a modern take on a classic transition that is a great addition to your library.
This fun visual effect is great for more dynamic videos and transitions between clips by spinning the first clip before bringing in the second.
This transition splits the first clip down the middle and swipes the image out of the top and bottom of the frame before flying the new clip back into their places and sewing them back together—a great transition for wide shots and scenic montages.
This transition is similar to the “Distort and Twist” transition earlier, but it uses two concentric circles instead of just spinning the entire frame.
This transition works just like the “Vertical Split Frame” transition, except it divides the frame horizontally instead of vertically.
This transition mimics both the “Twist Wheel” and the “Distort and Twist” transitions, but with more of a noticeable “swirl” element that carries over into the new clip from the old clip.
This transition is incredibly useful for social media managers or anyone producing vertical video for Instagram stories or other mobile device applications. It allows an animated text field to transition into the frame from the left side and text to fade in.
This free transitions pack from popular YouTuber MrAlexTech provides a whole array of seamless transitions like dissolves and wipes. You can download it for free or make a donation to support his channel.
This is a great basic transitions pack to add to your effects library. You can also purchase additional transitions and transition packs through The Resolve Store.
This transition pack allows you to transition between clips using stunning light leak effects. J.J. Abrams, eat your heart out.
How to Install New Transitions in DaVinci Resolve
Once you’ve downloaded your new transition packs, here’s how you import them into DaVinci Resolve so you can use them on your next project:
Step 1: In DaVinci Resolve, open the “Fusion” page
This will be found at the bottom of your workspace screen.
Step 2: Select the “Effects Library”
Step 3: Select “Templates,” then open the drop-down menu
Step 4: Select “Edit,” then click on the icon with three small dots (…) at the top of the edit menu.
Step 5: Select the “Show Folder” menu that appears.
You will now see a list of template folders appear.
Step 6: Drag and drop the unzipped folder containing your transition templates into the appropriate transition folder.
Step 7: Restart DaVinci Resolve.
That’s it. Now you’ll have new transitions installed into DaVinci Resolve that you can use in all of your editing projects.


.avif)


.avif)


.avif)