


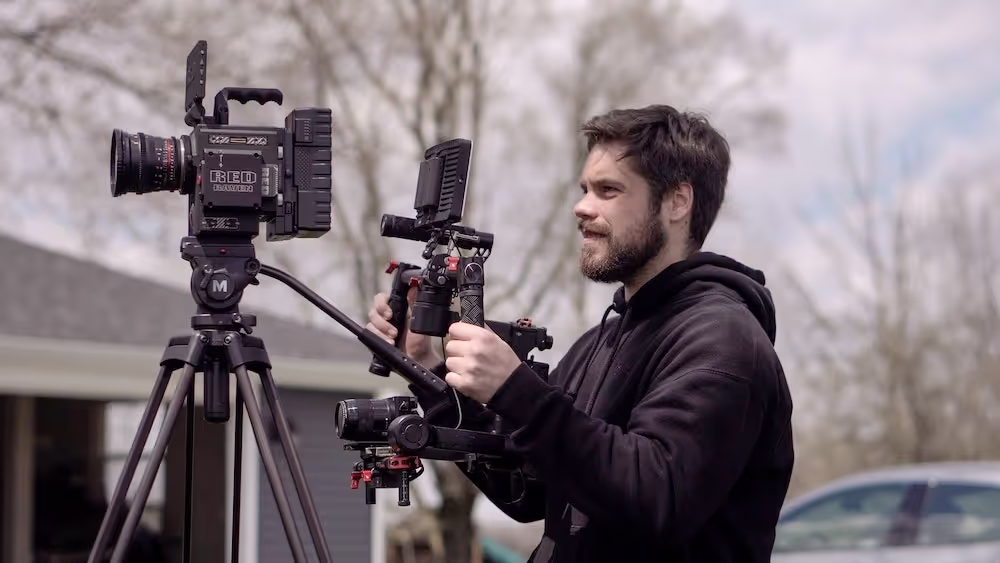
On sets big and small, video village always sits at the center of it all. It’s the nerve center, not just a window into what will show up on the screen, but the hub of conversation and collaboration in the eye of the storm that is the set.
Now that sets are more socially distanced, the setup of video village is changing as well. The number of collaborators has been severely reduced to allow more space, and more staff that used to drop by the village are working from their home or office instead.
Thankfully, new tech is rapidly evolving to make it possible to create a “virtual video village.” This can be incredibly beneficial for remote team members and on-site members who don’t want to crowd cheek-to-cheek around a small monitor to do quick checks.
The challenges of creating remote video villages
As digital video feeds and wireless video tech has come to sets, the idea of virtual video village feeds has also come into play. However, there are some significant challenges to creating a fully remote video village that mimics the quality and function of the on-set monitor environment.
Most productions have tried to make up for the loss of an on-set video village by using one of two existing technologies. The first is video conferencing technology like Zoom or Google Meet. While these allow creative directors and other stakeholders to communicate, there is no native way to share live camera feeds within the platforms.
The second option is to use camera live streaming tech, like Teradek’s Serv Pro, to broadcast a wireless signal that can be viewed using proprietary software.
Unfortunately, this has the opposite problem of the previously mentioned tech. While everyone can see the camera feed, no one can communicate with each other directly through the platform.
These solutions also fall victim to common issues related to live streaming video content. For example, lagging feeds, mismatched internet connections and WiFi signal disruptions can all severely impact the functionality of many wireless solutions.
So, the ideal solution is a virtual video village that allows people to collaborate face-to-face while also viewing live feeds from the set, with low latency to avoid frustrating lag. Thankfully, new tech is hitting the market designed to do just that.
Create together remotely, in real time
Creating a remote video village using Evercast
Evercast is a creative collaboration program specifically designed to address the workflow needs of creative teams that want to work together even if all or part of the team is remote.
It allows teams to live stream any digital media content (such as editing workstations, media files, and live camera feeds) into a collaboration “room” where team members can video chat face-to-face in real-time.
This dual-streaming capability makes Evercast an ideal platform for a remote video village.
To set up Evercast as a remote video village, follow these steps:
Step 1: Determine how many cameras you will want/need to broadcast.
Step 2: Choose between a hard-wired or wireless connection to stream from your camera.
Both methods have their advantages and disadvantages. A hard-wired network connection using an SDI cable will be much more reliable and stable than a wireless connection. However, it won’t allow the camera to move as freely and will require some cable management.
On the other hand, a wireless signal will allow much more freedom of movement but can sometimes be prone to signal interruptions or disconnections.
Step 3: Connect your camera(s) to Evercast.
- To stream to Evercast using a hard-wired connection:
First, connect an SDI from the camera(s) to a supported capture card (for example, the AJA U-Tap). Then, connect the capture card to an on-site laptop or PC with the Evercast platform installed, and an internet connection enabled.
- To stream to Evercast using a wireless connection:
Connect each camera to your preferred wireless transmitter system, such as the Teradek Bolt system. Sync the wireless signal from the transmitters to your wireless capture card. Finally, connect the capture card to an on-site laptop or PC with the Evercast platform installed, and an internet connection enabled.
Step 4: Invite your remote participants to join your Evercast room.
All non-broadcasting participants need to do to join an Evercast room is follow the link provided. This will allow them to connect from any device, anywhere in the world.
Step 5: Start broadcasting your remote video village.
Once you’ve installed the Evercast platform, connected your cameras, and invited your co-collaborators, you can live stream everything your cameras capture as they capture it.
Your participants can then use the on-screen annotation tools to point out areas of the frame they have comments on or simply type comments into the chat box that will be time stamped to match the timecode of your camera streams.
In some ways, the addition of these digital note-taking tools makes your remote video village an even more interactive and precise space than your on-set one is or was. It also eliminates that one agent who sits right in front of the monitor while doing nothing but taking phone calls all day.
With Evercast, you can not only set up a remote video village, but you can take this collaborative space with you into the editing room as well. Evercast allows editors, animators, and composers to share their workstations while video chatting with the team.
Looking towards the future, creative teams will likely include some form of remote work, whether that be during pre-production, production, or post-production. This means the addition of remote collaboration tools to your team’s toolkit is becoming more vital to ensure your team can work together no matter where they may be working from.


.avif)


.avif)


.avif)