


Adding markers in Adobe After Effects is the best way to mark important points in a composition you’re working on. You can also add comments and links to the marker which makes them handy for individual note-taking and collaboration.
Adding markers in After Effects is simple, and if you’re familiar adding markers in any of Adobe’s other non-linear editing programs, adding them in After Effects will be a breeze.
How to Add Markers in After Effects
Adding markers in After Effects is similar to adding them in Adobe Premiere or other editing programs.
Follow these steps to learn how to add a timeline marker:
Step 1: Move your CTI to your desired marker location
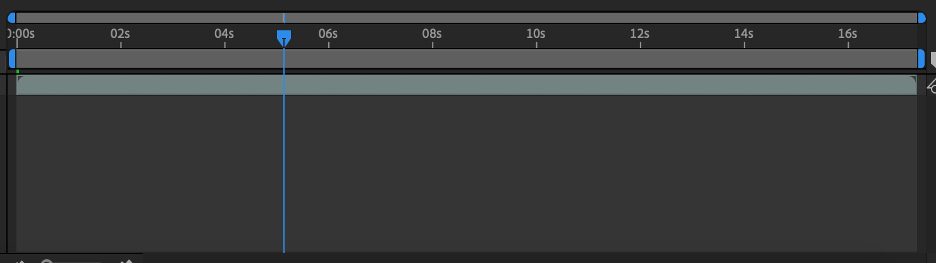
CTI stands for “current time indicator” and is the blue line that moves up and down your timeline as you play or review your composition. Move the CTI to your desired marker location before placing your marker.
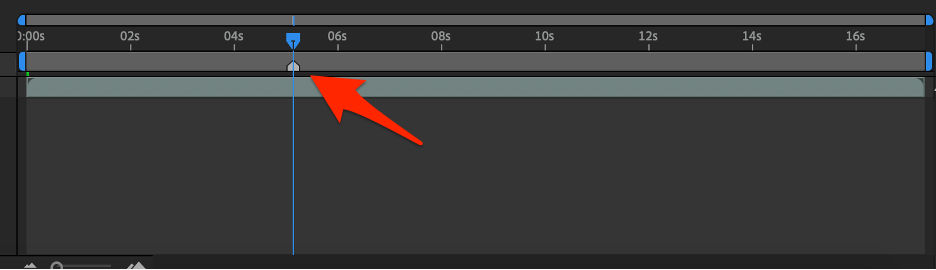
Step 2: Set your marker
There are two ways to set a marker in After Effects. You can either use a menu selection or a keyboard shortcut.
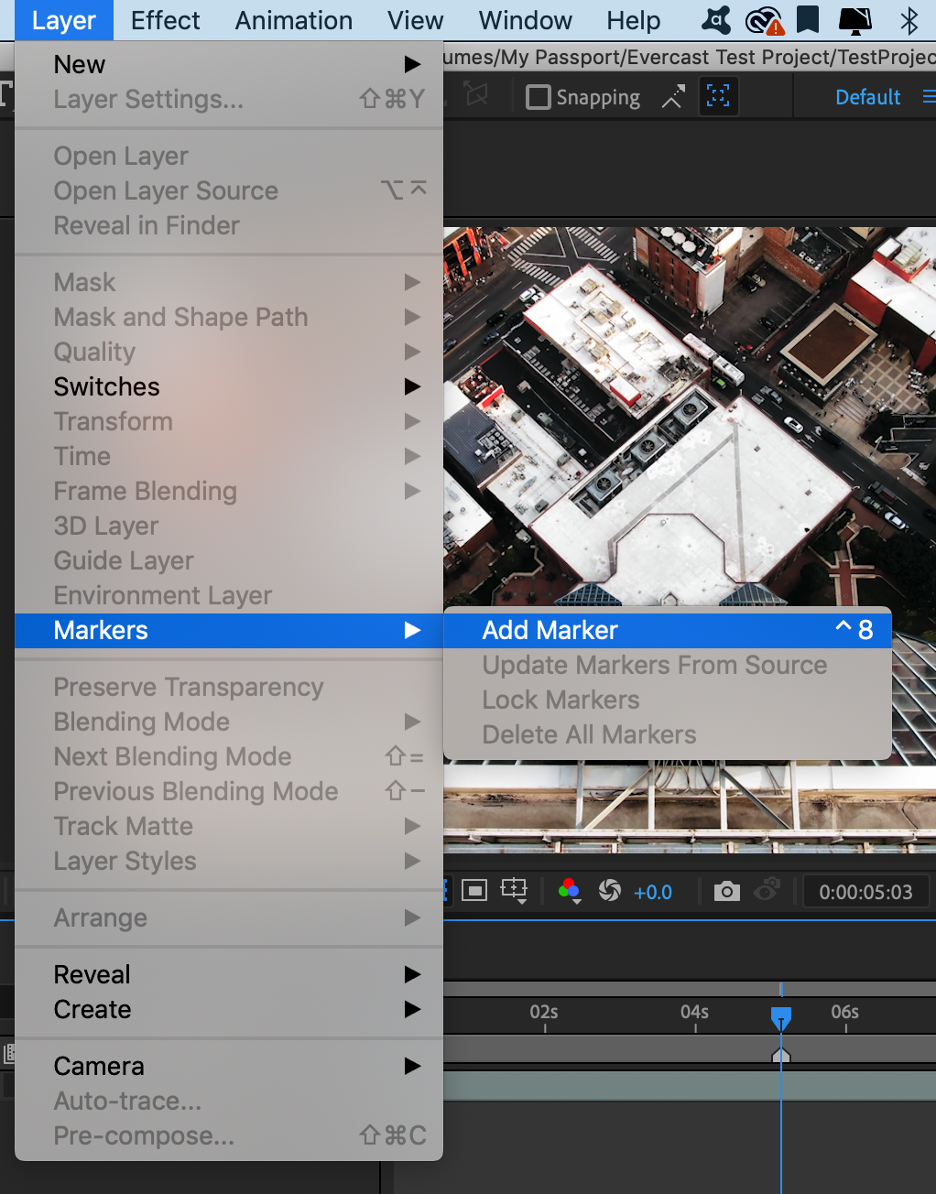
To set a marker using your menu:
- Navigate to “Layer” in the top control panel
- Select “Marker”
- Choose “Add Marker”
- The marker will now appear at the location of your CTI
You can also place a marker using a keyboard shortcut. Simply press Ctrl+8 to set a marker at your CTI.
Once you’ve placed your marker, you can edit it, add comments or links, or remove it as you see fit.
How to Edit or Delete a Marker in After Effects
Markers in After Effects are extremely versatile, and you can edit them to suit your workflow best. Here are some common ways to edit your markers to work best with your workflow:
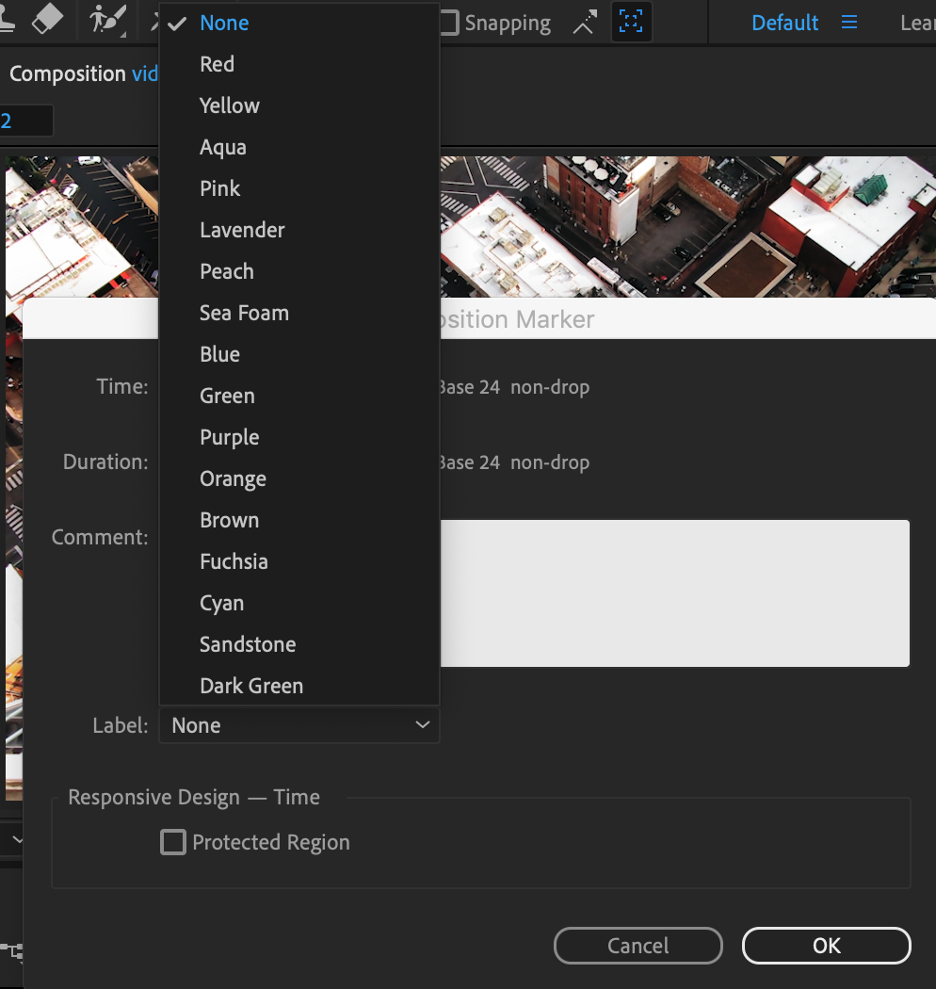
How to Change the Color of Your Marker
- Find your marker on your timeline and double-click on it to open the “marker properties” window
- Go to “label”
- Select which color you’d like to use for your marker
- Press “OK” to lock in your changes
Create together remotely, in real time
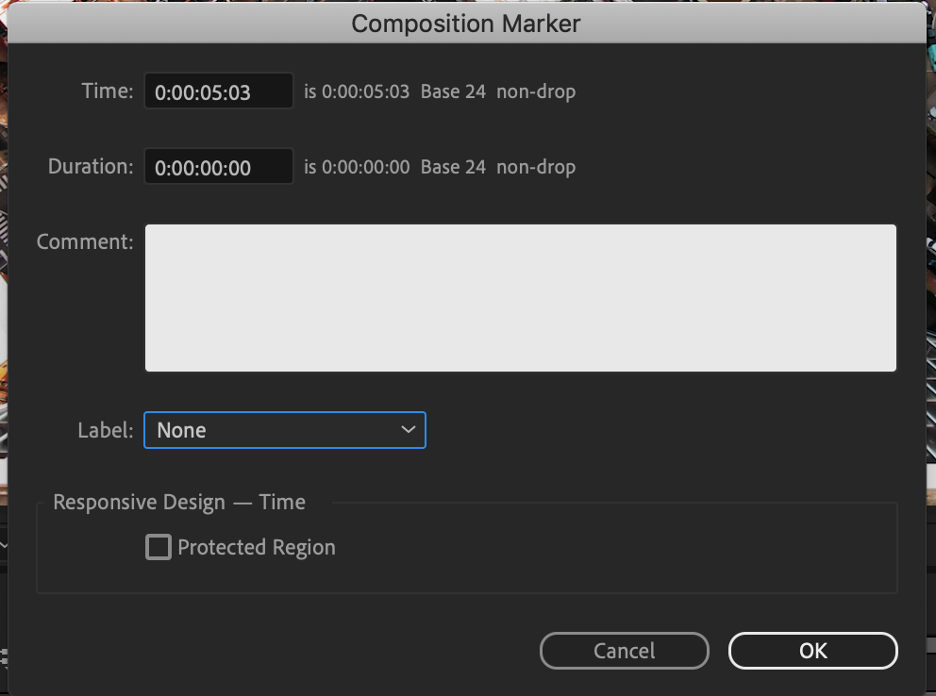
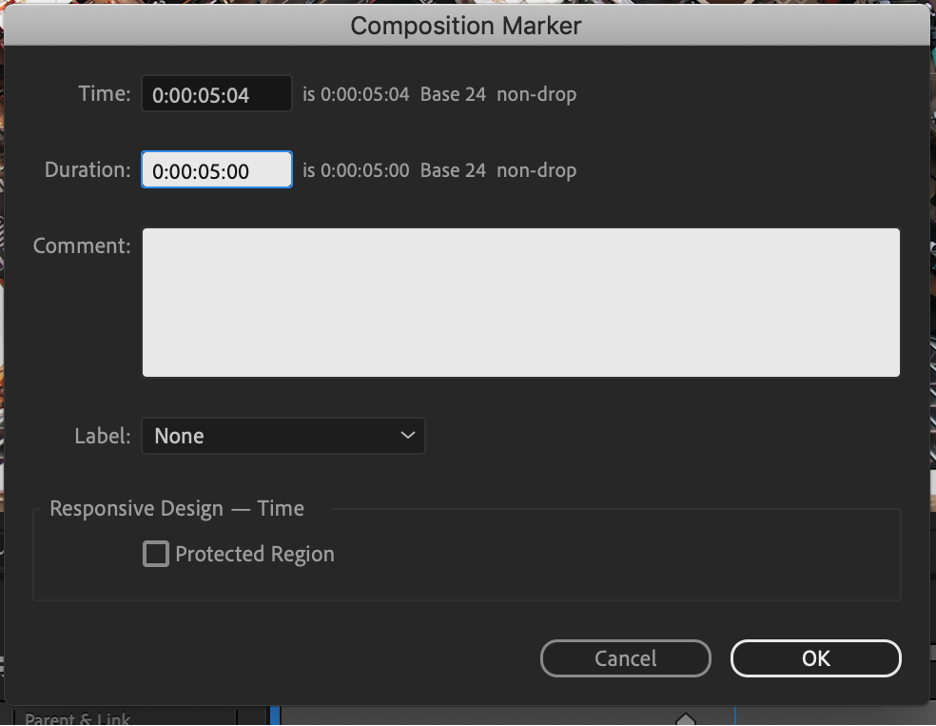
How to Change The Duration of Your Marker
Markers can also span a certain length of time instead of just mark a specific point. Here’s how to change the duration of your marker to cover a specific length of time:
- Double click on the marker to open the “marker properties” window
- Go to “duration” and type in the amount of time you would like your marker to cover
- Your marker will now span that length of time on the timeline

You can also change the duration of your marker with your mouse. Here’s how:
- Hold down the Option key
- Click on your marker and drag it to your desired length
How to Add a Comment on a Marker
You can add comments to your marker to notate things you don’t want to forget or add links to important information. Here’s how:
- Double click on the marker to open the “marker properties” window
- Locate the “Comment” box in the middle of the screen
- Type in your comment
- Press “OK” to save your comment
This comment will now always be visible when you open the marker properties page.

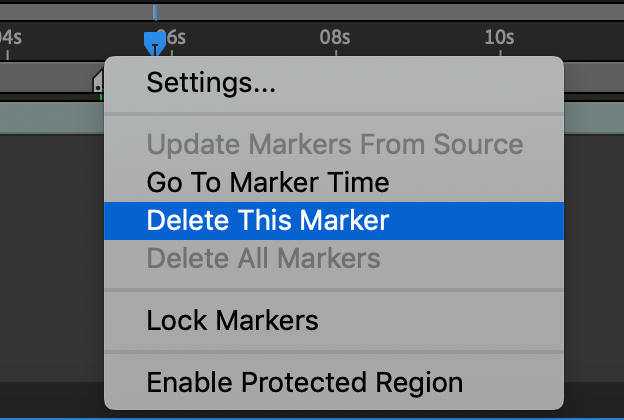
How to Delete a Marker
To delete a single marker, simply hold down “Control,” double click on the marker, and select “Delete this marker” to remove it from the timeline.
Experiment with adding markers to notate important ideas, sync keyframes, or organize your composition by different sections. The more you edit in After Effects, the more important markers will become.
How to Add a Timestamp in After Effects
Since we’ve been talking about techniques to “hold our place” in After Effects, we should also briefly talk about timestamps. Timestamps are a running “visual marker” that allows us to see exactly what point we are in the composition via a running clock on our viewer window.
Follow these steps to learn how to add a timestamp in After Effects:
- In your After Effects project, go to “Effect”
- Select “Text” in the drop down
- Choose “Timecode”

You will now be taken to the effect adjustment window, where you can adjust the size, placement and type of timecode you would like displayed. It will look like this:
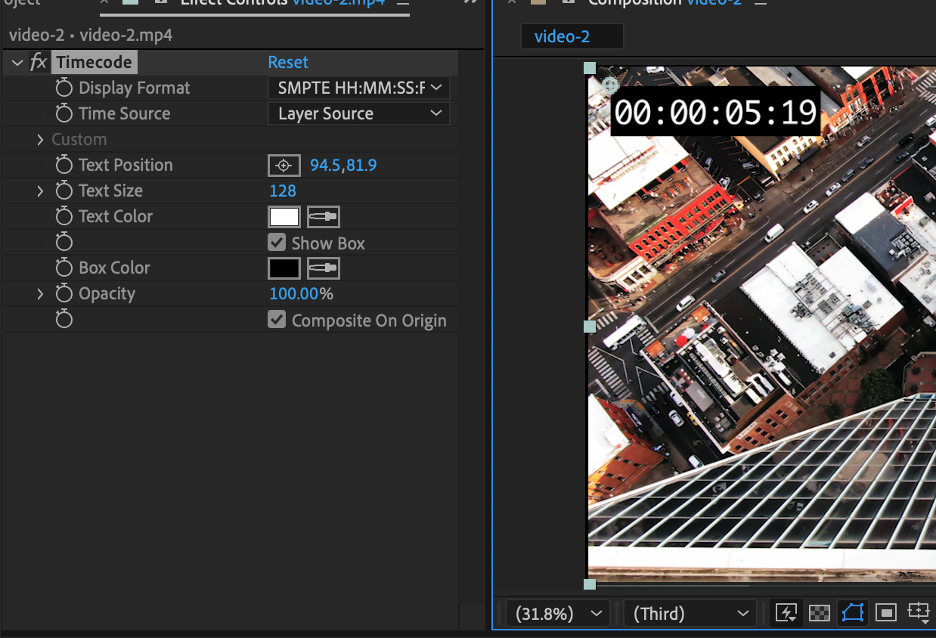
Now, when you play your clip, you will have a running timeclock on your screen telling you exactly what position in the composition you are currently located.
Hopefully these handy tools will help you organize your editing workflow and make creating and collaborating in After Effects a breeze.
If you’re looking for a better way to bring your remote editing team closer together and collaborate more efficiently from a distance, check out Evercast. Evercast allows you to stream your edit sessions in HD while video chatting and exchanging notes with your team, all under one platform. Because we believe collaboration is the magic behind the movies.


.avif)


.avif)


.avif)