


No matter how well you try to compensate for things like low light conditions during a shoot, noise is an all-too-common side effect of digital filmmaking.
Thankfully, After Effects is the perfect platform for removing unwanted noise and grain from your shots, as well as providing a host of other tools to improve your video quality when the raw footage just doesn’t quite hit the mark.
Here’s a quick tutorial on removing noise and grainy footage to improve your video quality using Adobe After Effects.
How to Remove Noise or Grain from Videos in After Effects
There are several methods for removing noise from video clips in After Effects. First, you have a native solution, which may not be as quick as some third-party plugins, but will allow you to fix your videos without paying for additional software.
Here’s how to remove noise using the built in “Remove Grain” effect in After Effects:
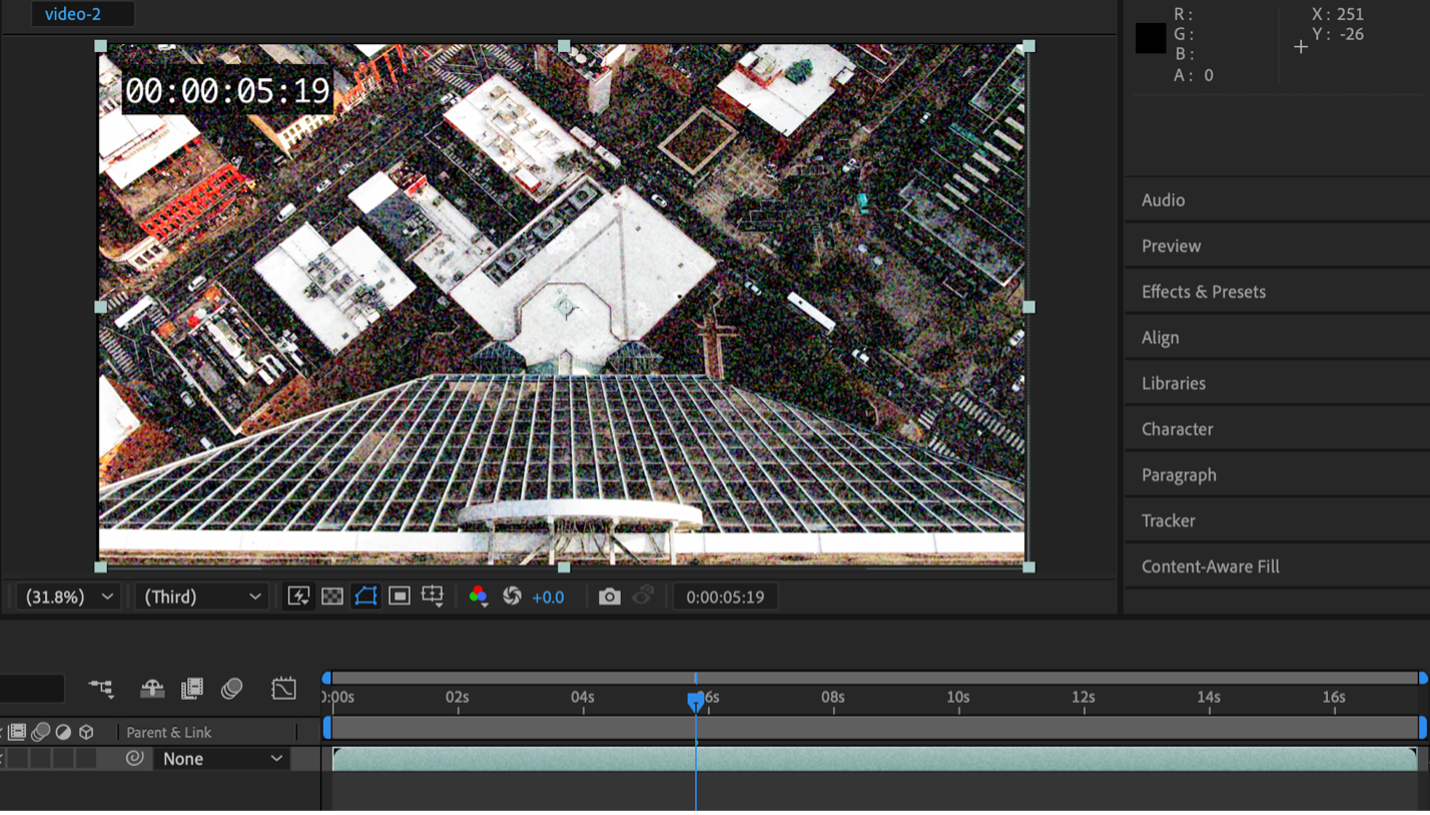
Step 1: Open your project and select the clip on the timeline you want to de-noise
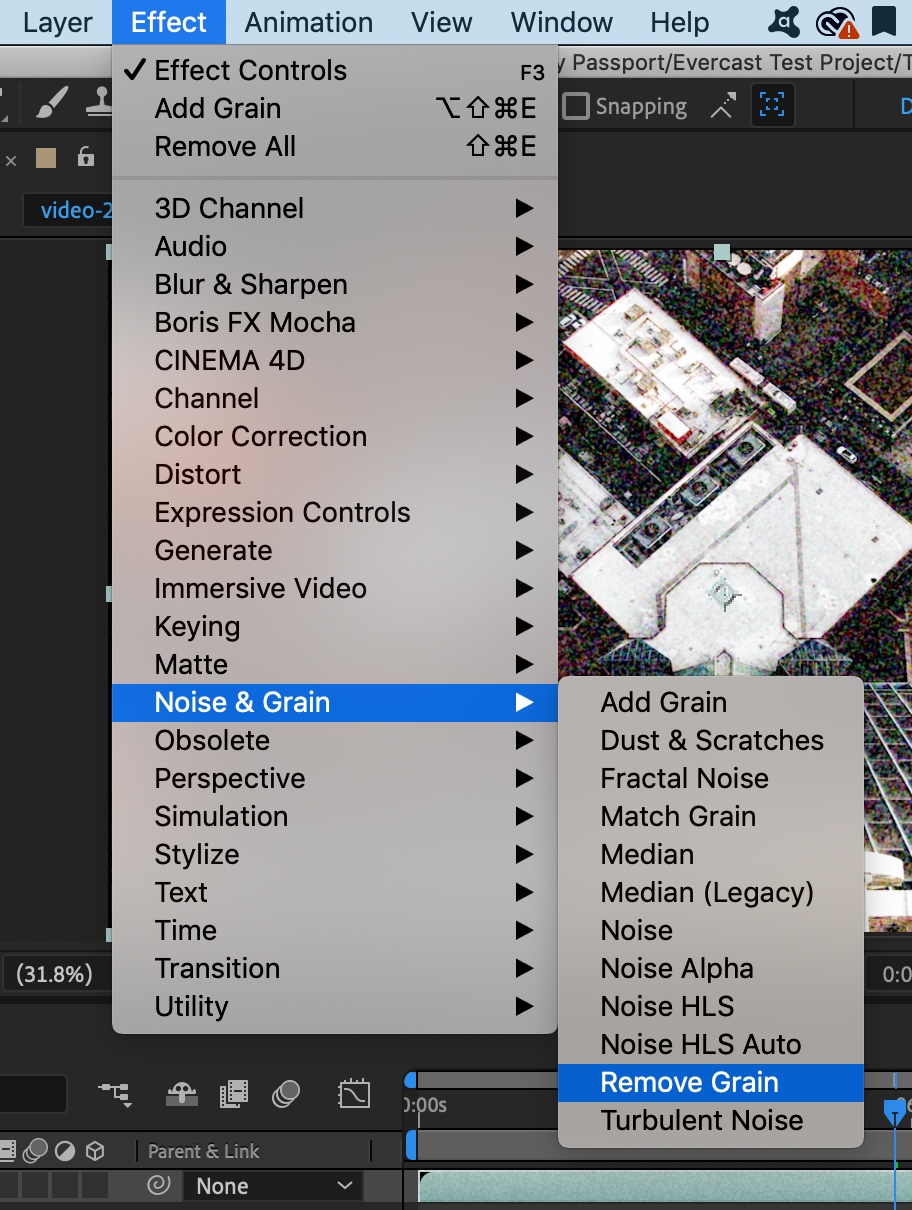
Step 2: Go to “Effect”, then click “Noise and Grain”, then apply “Remove Grain”
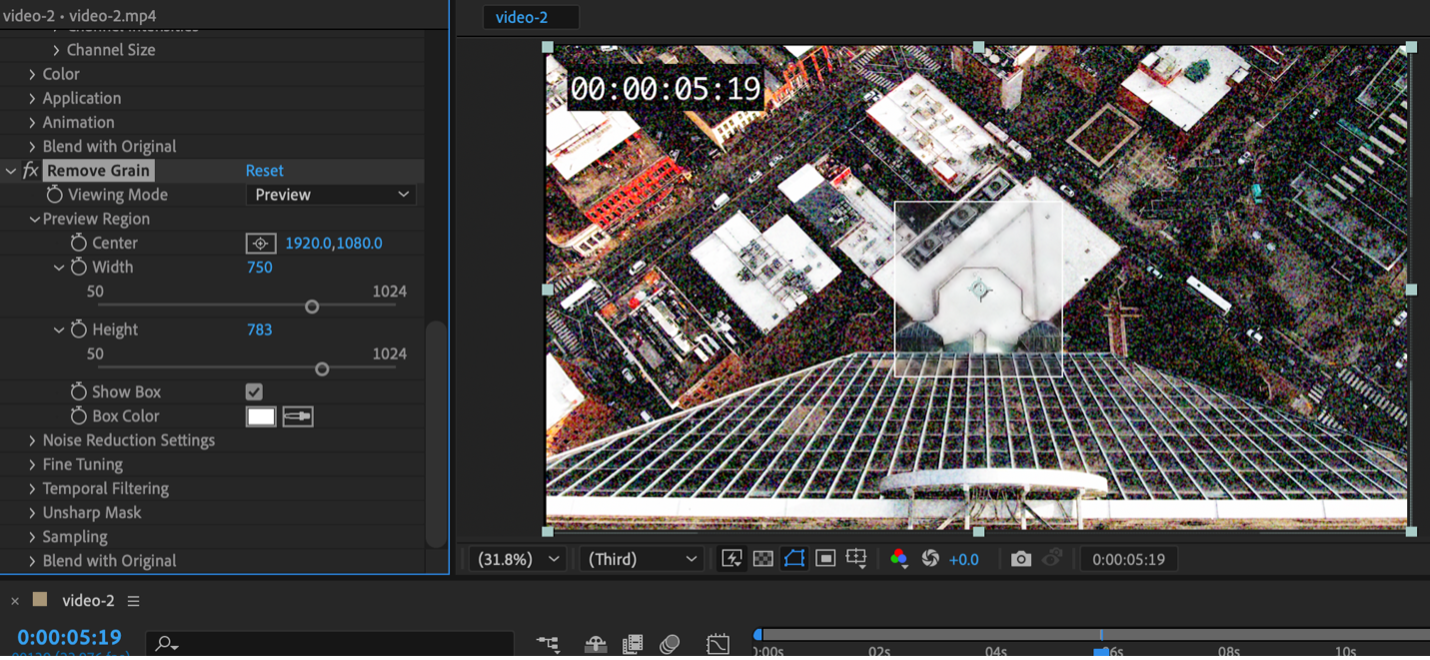
Step 3: Set your preview region size so you can preview what the final image will look like with the effect applied
Step 4: Toggle your noise reduction settings until you get a good balance of noise reduction and clarity

Keep checking your visual preview box to see how different changes affect your image. You can drag the preview box to different parts of the image to check different areas.
Create together remotely, in real time
There are several different settings you can toggle in this effect to get your desired results.
First, you can adjust the general “noise reduction” slider for After Effects to take it’s best guess at how to reduce the noise in the image. However, be careful, as the higher this effect, the blurrier and “muddier” your image can become, like in the example below:
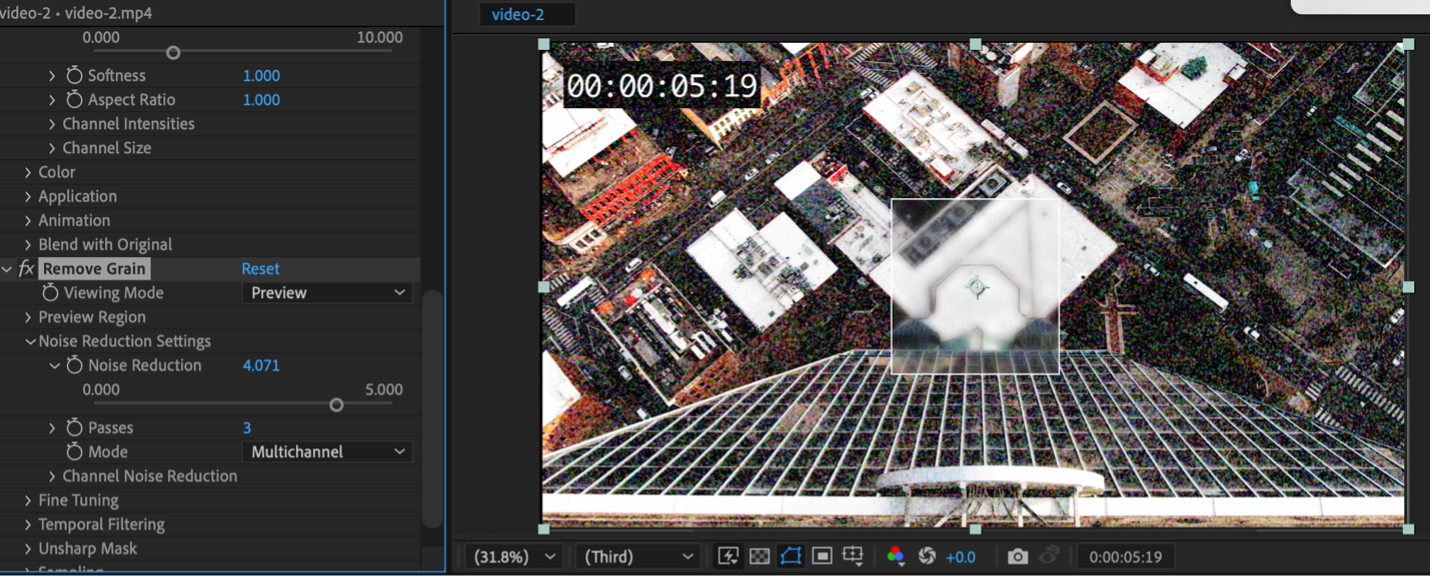
Notice how in the preview box, the image looks blurry and out-of-focus. You can achieve more precise noise reduction results by using the channel noise reduction, which isolates noise by color.

Here, you can isolate the reduction of grains on only a certain color channel. If, for example, you notice your video noise is tending more on the red spectrum, you can choose to only reduce noise in the red channel, leaving the other two intact and often resulting in a more detailed final result.
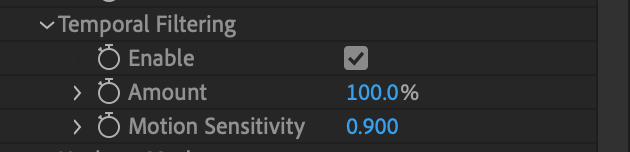
Now, if after you reduce your noise, you’re noticing your video footage jumping or flickering, never fear. This is a common side-effect of the noise reduction effect and can be corrected using Temporal Filtering.
To use temporal filtering, simply locate it in the noise reduction menus and check “Enable” to turn it on. Then, you can adjust the amount and motion sensitivity until you eliminate your flicker.
Now, as you may have noticed, this process can get quite time consuming and tedious to do manually in After Effects. If you’re looking to save time on video editing, third-party plugins can automatically reduce noise and fine tune your images to produce a stunning final output in far less time.
Noise Reduction Plug-ins to Use With After Effects
There are many noise reduction plugins on the market that are compatible with After Effects. We’ve compiled a few of our favorites with their pros and cons so you can decide which one works best for you.
Top Pick: Magic Bullet Denoiser by Red Giant
This plugin is part of the Magic Bullet plugin and offers some of the best and fastest denoising available on the market. They have continued to refine the technology and Denoiser III is the best and brightest that Red Giant has ever offered.
Pros:
- Lightning-fast denoising technology
- Retains details beautifully
- Allows you to fine-tune the effect as needed
Cons:
- Cost (one of the most expensive on the market)
- Requires a lot of processing power
Runner Up: Denoise AI by Topaz Labs
This plugin is a newcomer who is already generating lots of buzz for its AI-powered noise-reducing technology. It will be interesting to see how this software improves as they fine-tune the AI.
Pros:
- Incredibly intelligent noise detection that determines what is noise and what is image detail
- Lower cost than other plugins
Cons:
- Does not come bundled with any other products
- Takes a LOT of processing power
Both of these plugins will save you tons of time and give you stunning image results that look like you upgraded your camera, not your editing software.
If you’re looking for a better way to bring your remote editing team closer together and collaborate more efficiently from a distance, check out Evercast. Evercast allows you to stream your edit sessions in HD while video chatting and exchanging notes with your team, all under one platform. Because we believe collaboration is the magic behind the movies.


.avif)


.avif)


.avif)