


Watching and discussing rough cuts or scenes has long been an important part of the post-production process. It used to be that the creative team and an editor using Adobe Premiere Pro would gather in a meeting or dark screening room and compare notes.
Now with the changes to the industry due to COVID-19, more creators have found it necessary to switch to virtual conferencing to view and collaborate.
One of the more popular options to facilitate this disruption has been Zoom; its ease of use and accessibility make it the go-to choice for many industries or companies used to meeting in person around a conference table.
However, for the entertainment industry, the marriage of Premiere Pro and Zoom has been an unhappy one. Quite simply, the video quality and audio lag from attempting to stream Premiere over Zoom make it a less than ideal choice.
The good news is there are now a few workarounds for those with the gumption to try them. After all, where there’s a will, there’s a way.
What’s The Problem With Streaming Premiere Pro Over Zoom?
The main problem with using Zoom as a creative collaboration tool is that it simply wasn’t built for it. Don’t get us wrong; Zoom is innovative, useful, and helpful, with many great features -- including the ability to make it seem like you are all in the same virtual space.
However, when you are using Zoom in conjunction with CPU-heavy video processing software like Premiere Pro, the system can easily get bogged down when you attempt to screen share. As Zoom explains it:
“When using the option to share your desktop or an application, the video resolution is dependent upon CPU usage, screen resolution, graphics card, and OS graphic system capabilities. Additionally, when a video is larger than 1080p, Zoom automatically downgrades the resolution to 1080p (or 720p), in order to optimize the content while minimizing the required bandwidth. Depending on how the video is shared, such as sharing a specific application or sharing only a portion of your screen, it may require additional CPU resources, which can further affect the overall quality of both the video share and the meeting for the user who is sharing.”
This isn’t a big problem for PowerPoint presentations or CEO welcome videos, but high-definition, CGI-heavy video sequences being rendered in real-time are going to inevitably lose quality. Additionally, this can cause dropped frames or lags between audio and video, making collaboration and discussion all the more difficult. (In fact, Zoom tacitly admits this by not even placing “entertainment” under the list of industries it supports.)
Still, Zoom has become so commonplace, it’s almost become a verb. This has forced many creatives and production companies to attempt workarounds.
Here Are a Few Things You Can Try
1. Try an Alternative
While there are a variety of complicated workarounds to try with Zoom, you'll never quite get what you're looking for if you need ultra low latency streaming. This is why most professional editors choose a turnkey solution like Evercast for video chat and content streaming in one app.
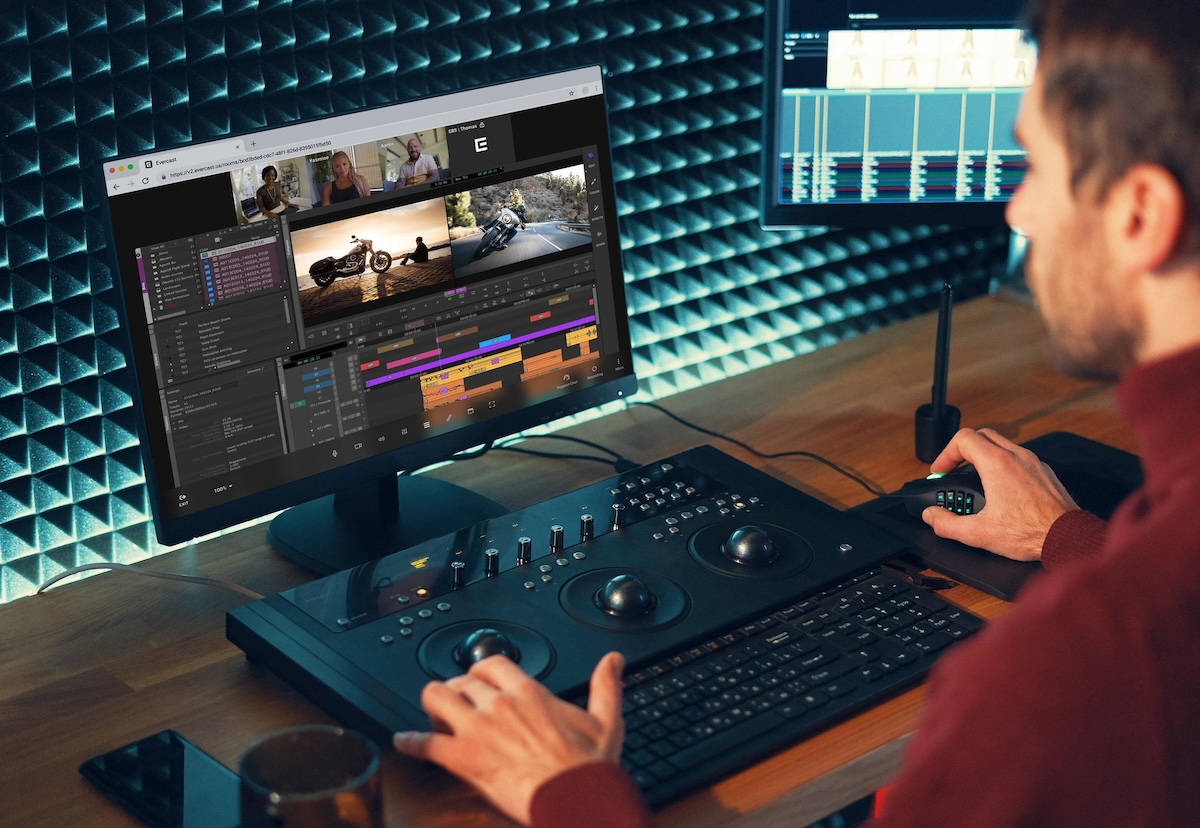
Evercast Studio is a remote collaboration tool specifically built for creative professionals. It's made for every stage of production from pre-to-post. You can even configure it to live stream cameras directly from set.
The set up is easy, and anyone who has used Zoom before will quickly understand the interface. Here are some of the key features:
- Full HD with <100 millisecond delay (literally faster than the blink of an eye).
- Your team can video and audio chat at the same time they are watching, allowing for instant feedback.
- Ability to draw on screen for more detail.
- No special hardware needed, no “hacks” necessary.
- 24/7 white-glove support.
- Dedicated apps for macOS, Windows, iPhone, iPad, Apple TV, and Apple Vision Pro.
- Supports up to 10-bit 4:4:4 color.
- 5.1 and 7.1 surround sound support.
- 4K/60fps streaming of any editing workflow via Premiere Pro, any other NLE or creative software, media files, and more.
- Encrypted video streams and two-factor authentication required to join secure rooms.
- Approved by ALL major studios and OTT content providers.
And much more. If you want to learn more about Evercast Studio’s platform that combines the best of video conferencing and live workflow streaming, watch a 2-minute video demo below.
And if you don't need a full-scale collaboration solution like Evercast Studio, you can also try Evercast Presenter, a plugin for Zoom, Google Meet, and Microsoft Teams. With just a simple plugin, you can securely share 4K video and high-quality media within the video conferencing tools you already use—no stuttering, no lag, and no compression artifacts. It's great for presentations, quick creative reviews, and more. Learn more at presenter.evercast.com.
Create together remotely, in real time
If you're not ready for a solution like Evercast, here are some workarounds to stream Premire Pro over Zoom.
2. Use Zoom and Adobe in conjunction with OBS and NDI
OBS (short for Open Broadcasting Software) is a free, open-source streaming tool that is quite popular with gamers and influencers who need to stream a high-quality video to platforms like Twitch or YouTube.
NDI is a new protocol that allows for high-resolution digital streaming over a local area network or LAN. In this scenario, the NDI becomes a virtual camera which then captures and streams the content to a second PC, which then sends it over Zoom. (Full instructions here.)
The problem once again, for anyone not on the local network, will be a possible loss of resolution and sync.
3. Conduct a Zoom screen-share-only meeting or webinar
Instead of a discussion, this will be more of a presentation and you’ll still possibly have resolution issues. Another tip is to be sure to check “optimize for full-screen” video when choosing the window to share.
4. Using Zoom, point a webcam from one computer to a second computer that’s streaming the Premiere Pro sequence
This “MacGyver” workaround lets the editing workstation use as much CPU as required and may help with lag, but again, resolution and color issues may be a problem since it is a picture of a picture.
5. Become a mad scientist and create your own monster/machine
Editor Sofi Marshall was faced with the covid collaboration conundrum; she went and developed a remote editing system that solved her problem.
This is quite clever, but it should be noted has only been tested with Mac, requires special hardware, and the security has not been approved by the major studios. (It should be noted here that Zoom has serious security issues of its own and not officially approved, either.)


.avif)


.avif)


.avif)