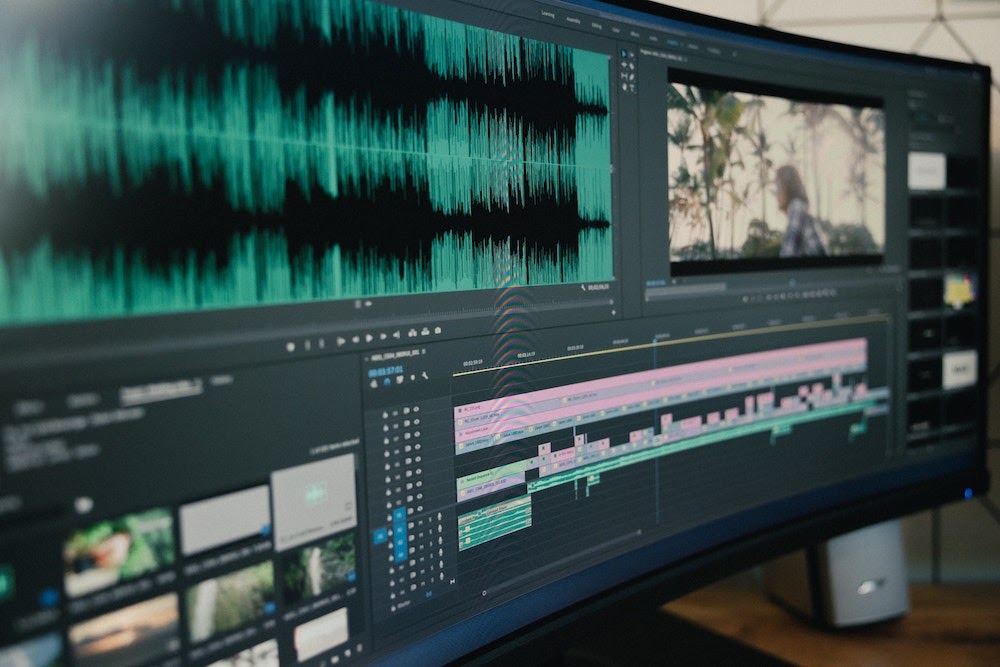
If you're an amateur video editor looking for a streamlined workflow to help ensure you don't miss any steps while editing your video or a seasoned pro looking for ways to save time, then this guide is for you.
We’re going to walk you through how to design a highly productive video editing workflow that will save you time and energy while ensuring no steps are missed and allowing you more time for abstract creativity instead of tedious tasks.
What is a Video Editing Workflow?

A video editing workflow is the steps that any video project goes through after it stops shooting and before the project is released.
In this guide, we will focus on "one-stop-shop" video editing, where a single editor handles all the elements required to produce a finished video. This includes raw footage editing, sound mixing, visual effects, color correction and grading, and final soundtrack selection and placement.
Why is an Efficient Video Editing Workflow Important?
Editing is a tedious task, and if you're looking to complete multiple projects, you'll need a standardized and efficient timeline to ensure you're not languishing on a project for unnecessary extra hours.
Time is money, after all, and especially if you're working as a professional editor, you'll want to conserve time wherever you can to make more room for creative decision-making.
The 7 Steps of a Highly Productive Video Editing Workflow

Step 1: Receipt of raw footage
This can come in the form of "dailies," which is a daily delivery of all footage shot during that day of filming (this is typical on longer projects such as TV shows or films), or at the end of a shoot (which is often the case for shorter projects such as music videos or commercials).
Your video edit begins as soon as you receive your footage.
Create together remotely, in real time

Step 2: Storage and organization of raw footage
This is a crucial step that is too often overlooked and, if done improperly, can cost hundreds of wasted hours over the course of a project. Once you receive your footage, it must be properly notated, organized, and cataloged so that it can be easily found and retrieved later.
At the very minimum, you should back up the footage and audio files to multiple personal drives in well-labeled folders. For extra assurance, utilize a cloud-based storage system that will keep your media files safe even if your physical drives get destroyed. No matter what method you choose to use to store your footage, make sure you put a system in place to properly organize each shot so you can find it easily later.
Some editors receive a shot log from the camera crew with each delivery of footage, which they use to organize the footage. This will tell you what scene each shot is for, which camera setup it is from, and which take each shot was. It sometimes also includes helpful information from the director of photography and director about which shots they would prefer to be used in the edits.
However, for most solo video editors, this is an unlikely scenario. Most likely, you're working with your own footage or footage that has not been logged on set, so you'll have to come up with your own system for labeling and organizing your footage. That being said, if you have the opportunity to do so, keeping or asking for a shot log can save you a ton of time in the video editing process.
A simple system of breaking down the final product into scenes and organizing the shots based on what scene they belong to, what angle they cover, and which take of that angle they are will usually suffice to keep things organized.
Step 3: Build the rough cut.
This is your first pass at making all the images make sense together. Your rough cut (also called an "assembly cut") is your opportunity to experiment and hone in on the visual pacing and symmetry of the final product.
Step 4: Refine the rough cut into a final “picture locked” cut
Once you've finished your rough cut, take a step back and watch the visuals through a few times. Don't pay attention to the sound or missing visual effects; those will come later. You'll want to be looking for shot choices, cut points, and the overall "flow" of the video and make notes of things you want to change. If you're working with a team, this is also the time to send the rough cut to them and receive feedback before making more refined changes.
Once you've got all the shots in the order, you want them in and cut precisely as you'd like them, "picture lock" your project. This means committing to not rearranging any clips so you can move on to the final stages of your edit without having to re-do anything because of a swapped-out clip. We know it can be hard, but it's the best way to work more efficiently.
Step 5: Add any Visual Effects (VFX)
Once the project is picture-locked, it’s time to add in all the extra visual goodies that will appear in the final project. This could be everything from adding small elements like birds in the sky to huge centerpiece animations like dragons or virtual worlds. You may or may not have these in your project, and if you don’t, just skip to the next step; color.
We’re putting color correction and color "grades," which refers to using color to give the project a specific feel or mood, under the visual effects category. They are another element of "adding in" visuals after you've picture locked. They also help blend any added elements in with the raw footage.
Step 6: Sound mixing
Once you have all your visual elements in place, only then is it time to play with sound. You want to wait until all the visuals are in place because you want to ensure that you can hear (or not hear) all the elements in the frame. You may need to add foley to incorporate added elements like CGI monsters, flames, etc. You’ll also want to clean up your on-location sound, add ADR (automated dialogue replacement), and ensure everything is balanced. You’ll also want to drop in the soundtrack here after selecting one that fits the mood.
Step 7: Final watch-throughs and fine-tuning
Before you send your video project out into the world, watch it through in its entirety at least twice. Look and listen for anything that may be missing or misplaced, and try to see the project through your audience's eyes. This will help you avoid embarrassing mistakes, like boom mic shadows in the frame or out-of-sync audio.
If you follow this workflow every time, you should have no problem working through each of your projects quickly and efficiently without missing a single element.
Tips for Focus and Productivity While Editing

Editing can be tedious, and staying on-task can be challenging even for editors who have been working for years. Here are some tips for staying focused and productive during your edit sessions:
- Break it up: Don’t sit down and try to edit your entire project in a day. Break up your project into different goals and try to focus on a single goal at a time. Once that goal is complete, take a break before working on the next one.
- Set time limits: To avoid getting distracted by the 10,000 different things that try to pull our attention away from our work, set a timer for a certain amount of time and commit to editing for exactly that long. Once the timer goes off, treat yourself to a break for a certain amount of time. Repeat this process for as long as you’d like to work that day.
- Ask for feedback: If you find yourself stuck on a certain element or edit point, don't be afraid to ask questions, whether to other team members or even asking other editors through online communities. Asking for help or second opinions can save you tons of time vs. beating your head against the problem until it gets solved.
Final Thoughts
Hopefully, this guide will help you get through your video edits smoothly and enables you to work smarter, not harder, as you take on more and more challenging projects.
And you don't have to work alone even if you're working remotely! You can connect with other members of your post-production team and collaborate more efficiently from a distance with Evercast.
Evercast allows you to stream your edit sessions in HD while video chatting and exchanging notes in real time with your team, all under one platform. It works with any popular post-production software and will allow your team to work together seamlessly through every step of the editing process. Because we believe collaboration is the magic behind the movies, we want to help you collaborate better no matter where in the world you may be.


.avif)


.avif)


.avif)